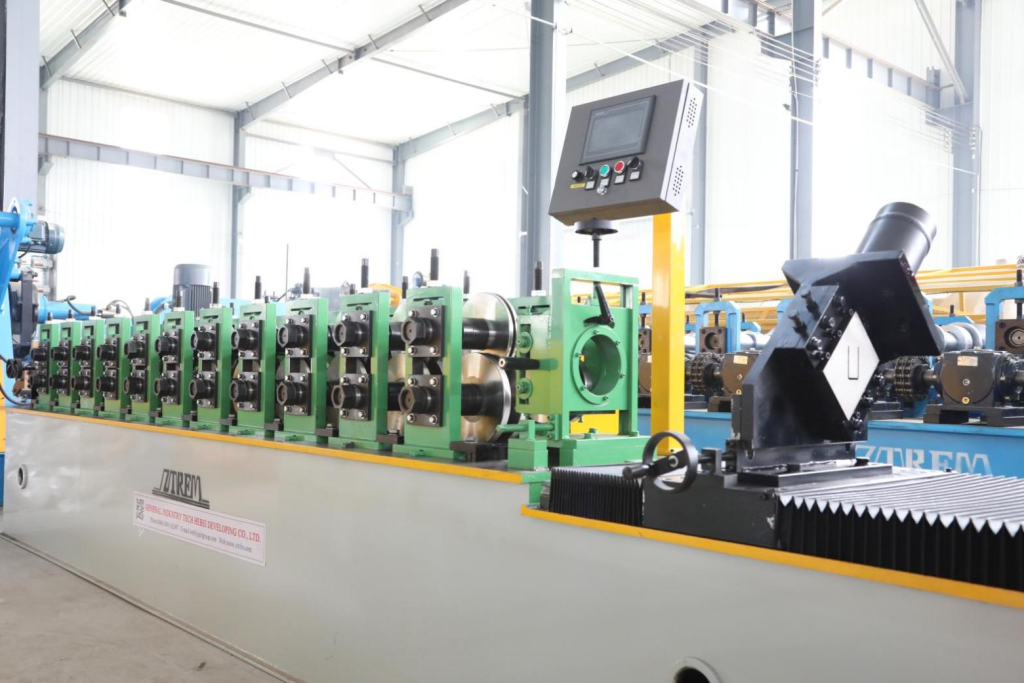
Follow these steps to perform a remote acceptance of the Quick Changeover C/U Drywall Stud Roll Forming Machine, ensuring all key aspects are covered through video and photo documentation:

1. General Overview of the Line and Units
- Video: Capture a general view of the entire production line and all units included in the delivery set. Ensure all parts are visible for a comprehensive overview.
2. Measure the Thickness of the Raw Material
- Video: Demonstrate the measurement of the thickness of the raw material metal (coil metal) using a micrometer. Ensure the measurement process is clearly visible.
3. Production of Profile No. 1
- Video: Record the production of 10 pieces of Profile No. 1, each with a length of 3 meters.
- Ensure that the footage is powerful enough to calculate productivity (50-60 meters per minute).
- The video should be taken from the guillotine side, clearly showing how the guillotine cuts the profile.
- Without interrupting the video, measure the profile’s length and film the profile from multiple sides.
4. Check the Straightness of the Profile

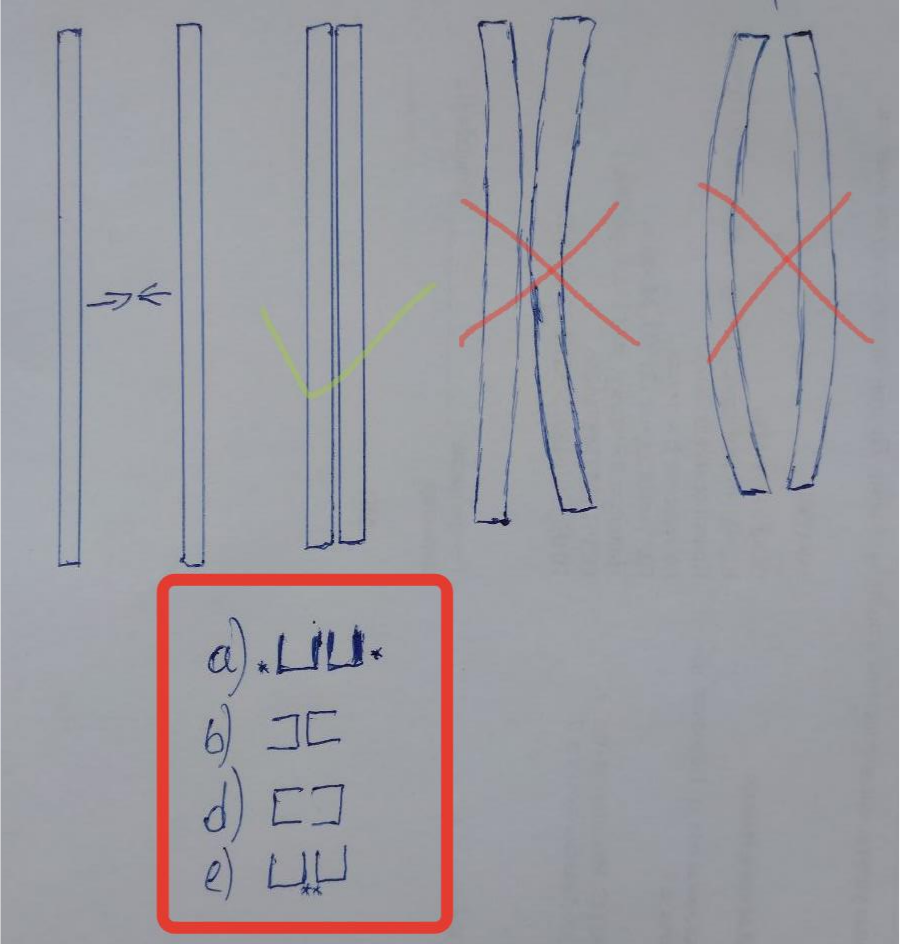
- Video: Take two pieces of the profile and place them tightly side by side, as shown in the provided figure.
- Important: The profiles must not be turned over and should remain exactly as they came out of the machine.
- Capture photos and videos of the profiles in all four positions: a, b, d, e.
5. Check the Quality of the Cut
- Photos: Ensure the cut edges are smooth, with no burrs that can be felt on the fingers.
- Take multiple close-up photos of the profile ends to verify the quality of the cut.
6. Display the Control Panel’s Russian Interface
- Video: Show the Russian-language interface on the control panel, ensuring that the screen is clear and legible for review.
7. Capture Photos of the Control Cabinet Interior
- Take a clear photo of the inside of the control cabinet, showing the components and wiring.
8. Photograph the Rolling Mill Motor and Guillotine
- Photos: Take a photo of the rolling mill motor and guillotine, ensuring the motor power tag is visible.
9. Photograph the Hydraulic Station
- Photos: Capture clear photos of the hydraulic station from multiple angles to ensure all components are visible.
10. Video: Retooling for Profile #2
- Video: Show the process of retooling the machine for Profile No. 2. Demonstrate how the cassette is changed and how the guillotine knives are replaced.
- Question: Verify if any settings need to be adjusted on the control panel for Profile No. 2.
11. Repeat Steps 2-5 for Profile #2
- Perform all steps (2-5) again for Profile No. 2, including measuring, checking cut quality, and ensuring profile straightness.
12. Video: Documentation
- Video: Record a video of the documentation that accompanies the machine, ensuring that all relevant documents are clearly shown.
